|
|
UC IPM Home >Homes, Gardens, Landscapes, and Turf >
How to Manage Pests
Pests in Gardens and Landscapes
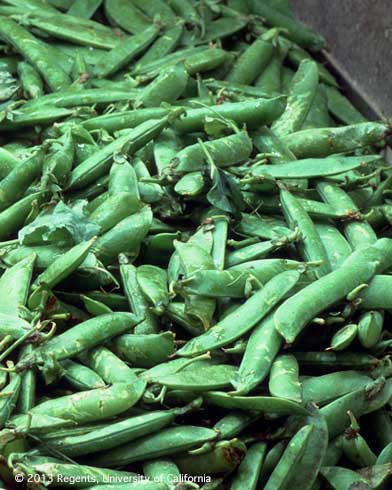
Peas – Pisum sativum
Family Fabaceae (Legume family)
Plant Description
Peas are annual legumes that do well in cool weather. They are grown for the pods and seeds. Two types of peas are typically grown, pole types which require some type of trellis or support, and bush types. Common and recommended varieties grown in California include snow, sugar, and snap peas.
Cultural Tips
Cultural practices such as proper site selection, soil preparation, planting, and watering are important for plant health, pest management and pest reduction when growing peas.
For more information about growing vegetables, visit the UC ANR California Garden Web website.
|
Pests and disorders of Peas
Invertebrates
|
Diseases
Environmental disorders
Vertebrates
Weeds
|
|
|